Driving 4,000 miles across Europe in an electric Lotus Eletre was a huge challenge that proved to be both exhilarating and terrifying. But to add to the difficulty, I also had to produce my own films about the car across the vast distances I’d be driving. But I didn’t want this to be some rough-and-ready YouTube vlog, I wanted to push myself to produce something much more cinematic. No easy task when I’m traveling solo.
From writing scripts and rigging the car with cameras and microphones to presenting pieces to the camera while driving, I had a lot of production work to do, all while trying to average around seven hours of driving per day and shooting all the still images for my article. And as I was the only person in the car, every single part of it was my responsibility.
Then, when I was home, I handled all the postproduction myself, including cutting and color grading in DaVinci Resolve. My goal was to create two long-form videos: one for CNET about the Lotus itself and one for my own YouTube channel about the photography I did along the way. It’s been the biggest production undertaking of my video career so far, but it’s been amazing to challenge myself with a project like this.
Here’s how I did it, with tips on how you can shoot your own documentary-style videos yourself.
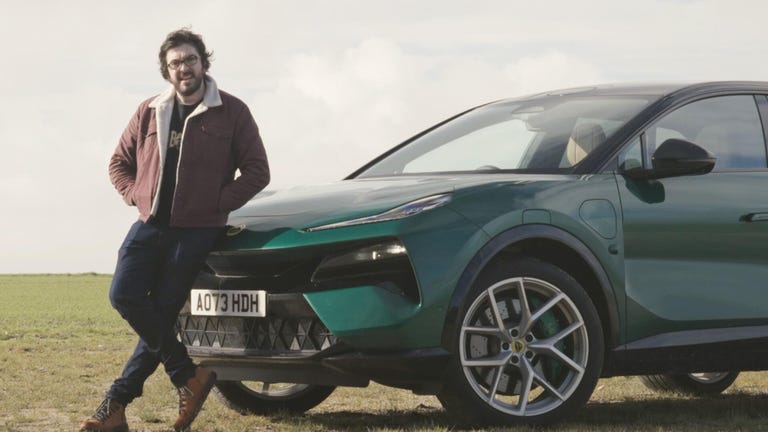
Watch this: Driving 4,000 Miles in Lotus’ New EV Was Brutal and I Loved It
Planning and scripting
There was only so much planning I was able to do on this trip. While I knew my route would have to take me from Edinburgh to Barcelona and back, I didn’t know the specific roads I’d be taking, or what would happen along the way. I didn’t book my hotels until the day I needed them, in case there were unexpected delays or I wanted to take detours.
Read more: Shoot Better Video With Any Phone
While this meant my journey could be flexible, it also meant that planning the story of my video or prewriting scripts to follow would be impossible as I simply didn’t know what would happen until I hit the road. Instead, the video had to be more off the cuff, following the journey as I drove it and as I learned more about the car. I took notes on my phone at charging stops and said “Hey Siri, take a note” to dictate thoughts and discussion points as they occurred to me while driving. I’d later turn these into sections that I could present to camera.
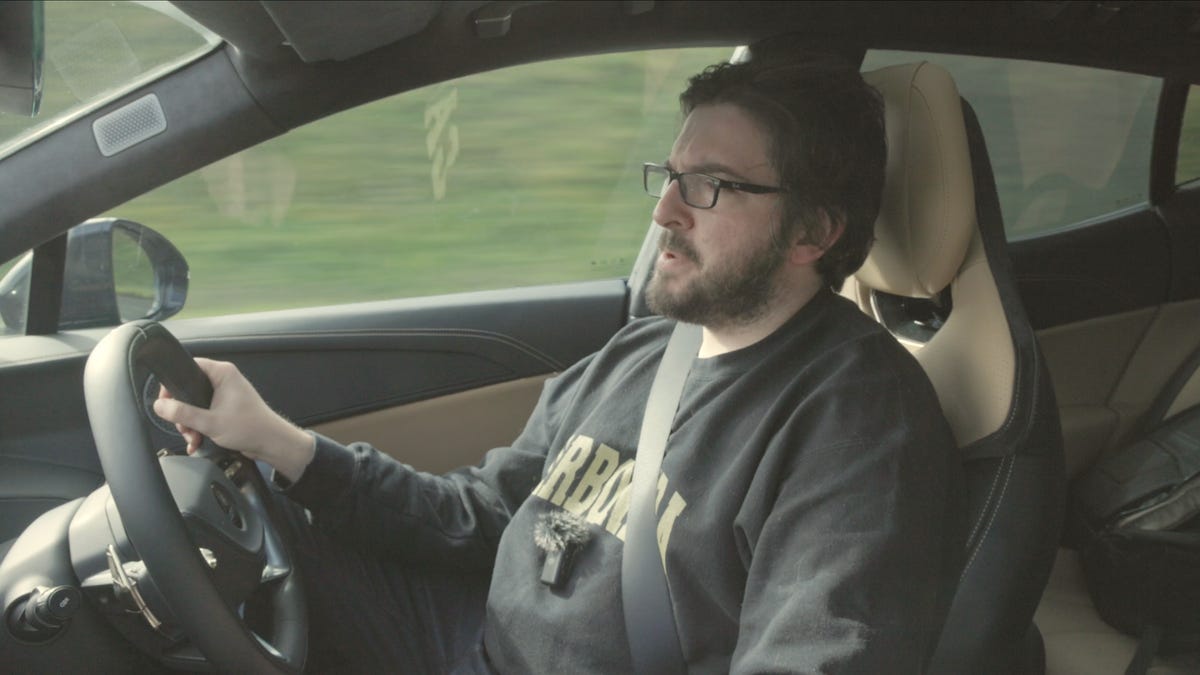
I set up this camera angle when stationary then tried to remember what I wanted to say while driving along. It took many attempts.
It was only toward the end of the journey that I shot my main pieces to camera, once I had enough experience with the car to draw my conclusions. This included my outro which summarized my feelings on the car and the journey.
My tips: If you know what you want to say in your video, spend the time planning and rehearsing a proper script. If you don’t, consider scripting just a few key sections and then using voiceover that you can record later.
The equipment I used
The Lotus Eletre is a big car and as the only person in it, I knew I’d have a ton of space left for equipment. That meant I didn’t need to travel light, so I took multiple cameras, lenses, tripods, sliders, lights, gimbals and rigging equipment to allow me to get any shot I might want.
Here’s a list of what I used:
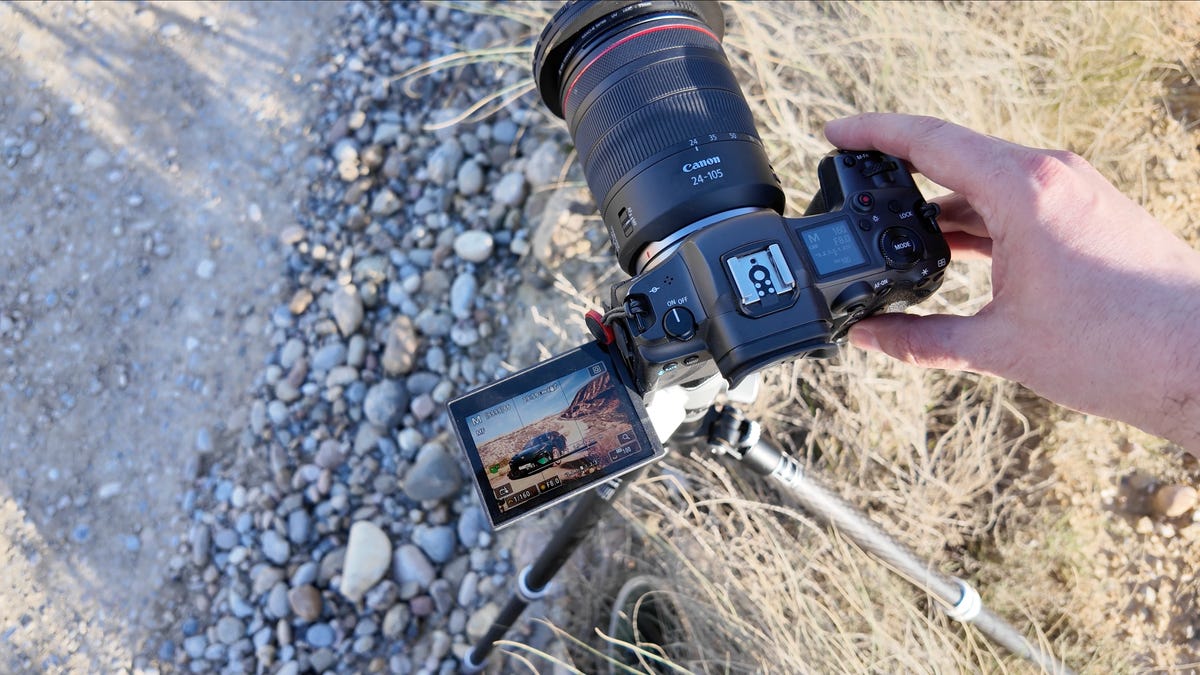
Finding my angle with the Canon R5 and 24-105mm f/4 lens.
Canon R5 camera: My everyday workhorse camera for both my CNET work and my personal YouTube channel. I had both a 24-105 f/4 lens and 35mm f/1.8 macro lens to get a variety of shots. I set it to shoot in 4K quality and at 25 frames per second in Canon’s CLog3 color profile to give more scope for editing later.
Panasonic S5: A great, affordable mirrorless camera I used for various additional angles. I had an all-purpose 20-60mm f/3.5-5.6 lens on this. I shot at 4K, 25 frames per second.
GoPro Hero 7: An action camera used for point-of-view angles showing me driving the car as well as to attach to various points on the outside of the car to film it in motion.
Gitzo Legende and Mountaineer tripods: The former for stills and quick videos, the latter as a sturdier base to use with my Edelkrone slider.
DJI mic: Radio microphones to record my pieces to camera. The windshield was great for outdoor use.
Rigging: Largely Manfrotto suction cups with a tripod’s ball head attached to allow me to mount my cameras from various angles inside the car. These cups can be fiddly to attach but once in place are extremely secure.
Extras: Multiple OWC CF Express cards for my Canon R5, totaling around 3TB in capacity as I knew I’d be shooting a lot of footage. I also took a 4TB Crucial X10 Pro SSD drive to back up and offload footage. I had about eight batteries for my Canon R5 and four for the Panasonic S5 but just the one for the GoPro. However, I also had an EcoFlow River 2 power bank, which I used to juice up my equipment while on the road.
I also took PolarPro Helix variable neutral density filters, which allowed me to darken the scene when needed, while still maintaining a wide aperture. I also used PolarPro’s circular polarizer for many shots as this helps cut reflections as well as provide a more rich blue sky.
If you’re looking to get into filmmaking and photography, make sure to check out my guides the best cameras and the best accessories for video production.
My tips: If you’re traveling light, take only what you think you need. One camera with an all-purpose zoom lens and a lightweight travel tripod may be enough to get the shots you want. If you have a bit more space for gear, sliders and gimbals will help you get more creative shots, while things like shoulder rigs will allow you to get smoother footage if you’re filming other people.
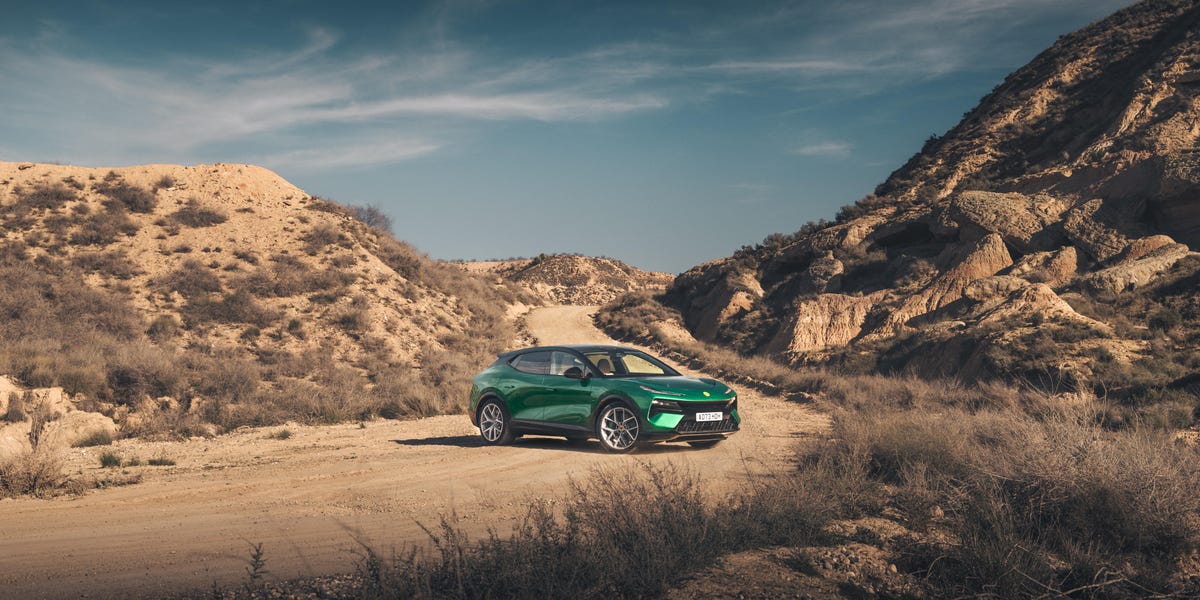
I loved finding angles like this one, which not only shows the car but also captures so much of the amazing landscape around it.
Finding my angles
I wanted my film to look as professional as possible, so I knew I needed a wide variety of b-roll shots (any shots where I’m not presenting to camera) both inside and outside the car to cut between. The biggest problem here was that I was traveling alone, so a lot of the shots you’d expect to see in professional productions — such as the car being filmed from in front traveling along the road — were completely out of the question. This meant I had to get a bit creative.
Read more: Level Up Your Travel Photos With These Pro Tips
I kept my eye out for some quiet spots where I could park, set up my camera on a tripod and then leave it safely while I drove past it, turned around and drove back to pick it up. Clearly, this is quite risky — if only because my camera could easily be stolen — so I only attempted this when I found suitable rural spots where I felt comfortable. It’s why there are no drive-by shots of me going through Barcelona.
I also used some of these locations to film “hero” shots of the stationary car in great-looking surroundings. I captured angles of the front three-quarters of the car, close-ups on the wheels, the Lotus badge and any other details that I felt may be called out in the script and would therefore need to be seen.
While stationary, I also got various internal shots of the car, getting close-ups on details like the seating, buttons, stitching, speakers and anything else that looked potentially interesting. I used macro lenses here for some of the finer details and made use of the Edelkrone slider for a push-in or pull-out motion in the footage to add an extra dimension.
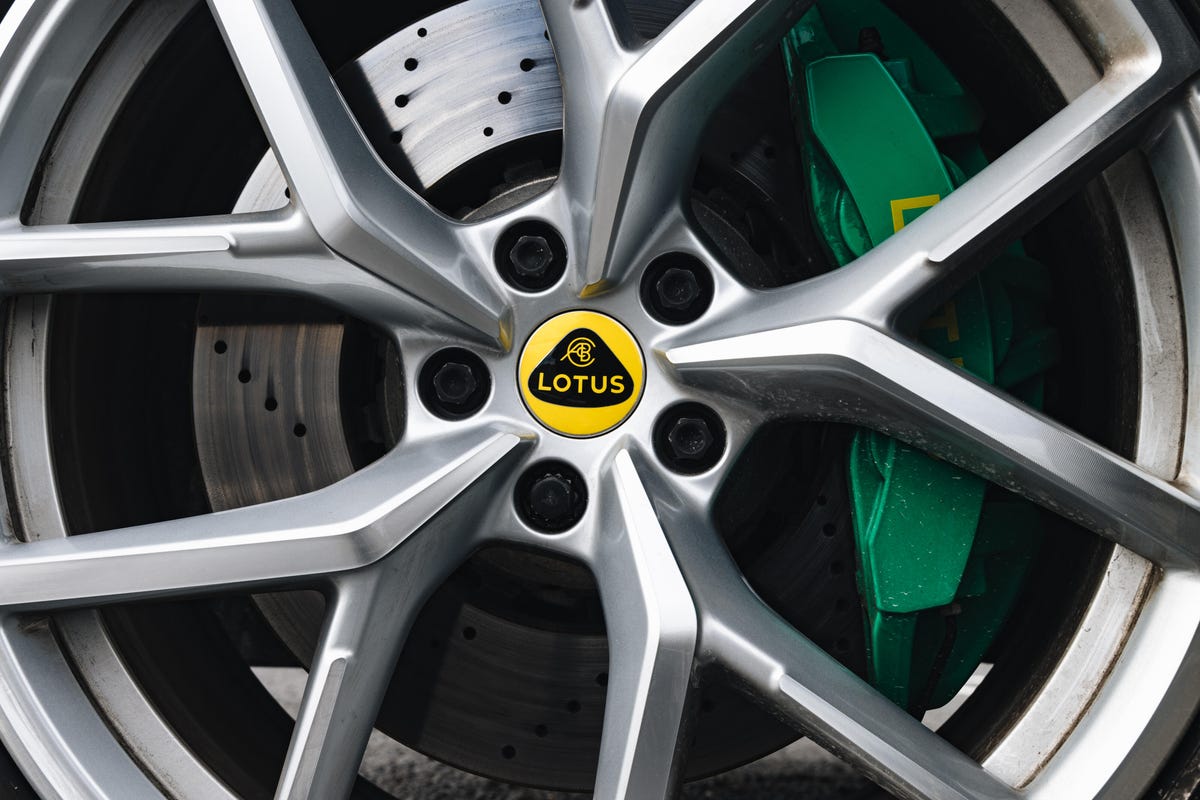
Close-ups on details like the wheels are essential.
I also needed a lot of shots inside the car while I was driving. This was a bit trickier as it meant finding an appropriate layby where I could park and then set up the camera inside the car using the Manfrotto suction cup. Some shots had the camera mounted to the passenger side window, pointing at me for my pieces to camera. Other times I mounted the camera to the sunroof, with a forward-facing view showing the road ahead. Almost all of them required the camera to be mounted upside-down, with the footage being flipped later in post. That made it more difficult to get the perfect angle.
I then had to press record on the camera and simply drive long enough to capture plenty of footage and until I found a safe place to pull in to stop recording, as operating the camera while driving would be illegal and unsafe. It meant I had many 30-minute video clips to sift through in the edit, but it also meant I had a lot of footage to use.
I used the same technique for my in-car presented sections, simply hitting record and then driving off. With no one else in the car, and not being able to read my phone or printed script, I had to try to remember what I wanted to say and keep trying again and again until I felt I had it right.
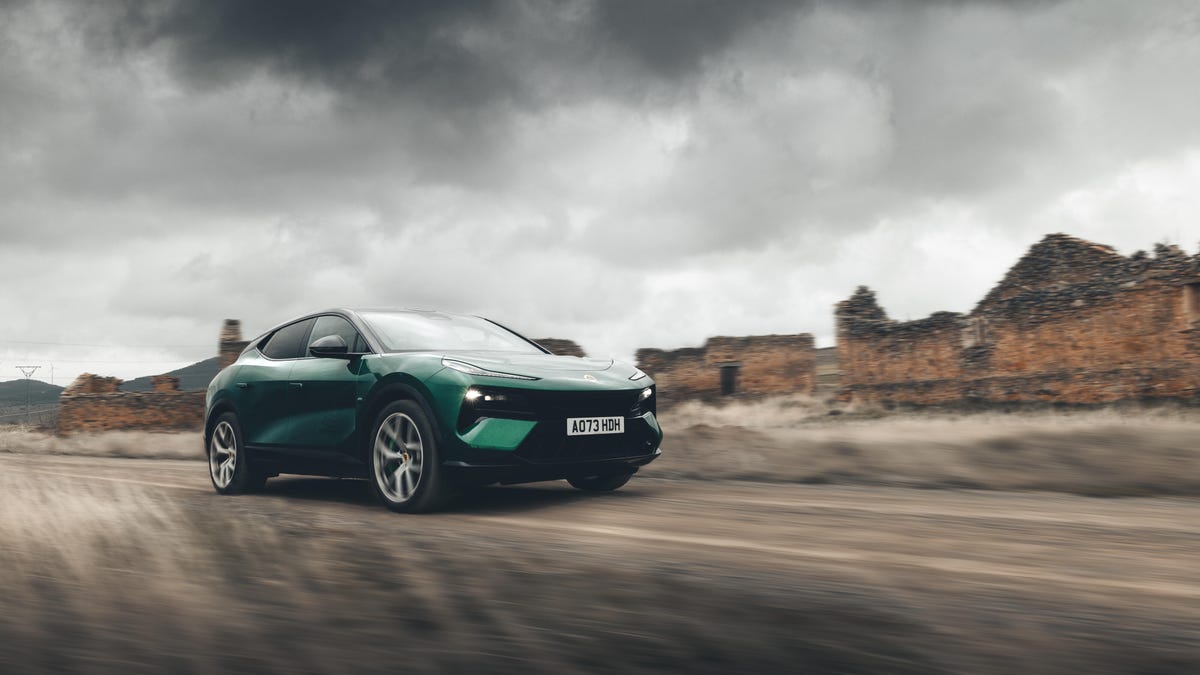
Some shots required me to simply set the camera up on a tripod and drive past it.
My tips: A good rule of thumb in filmmaking is that you can never have too much b-roll footage. Whatever you’re filming, make sure you capture lots of additional angles including close-ups and appropriate action shots so you have lots of footage to work with in the edit. If you’re working with an assistant or a second shooter, it’s easier to spread the workload and create a bigger catalog of more interesting shots to use.
If you’re presenting to camera, it’s always worth trying it multiple times in case you don’t like the first take or you slightly trip over a word.
Editing
I did all the editing for this film in BlackMagic’s DaVinci Resolve, which is my favorite software for video production. I started by transcribing some of my presented sections and then building a wider script around those parts. This then gave me a framework to record my voiceover and piece everything together.
I tried to keep things as snappy and well-paced as possible, keeping b-roll clips to just a few seconds in length, and trying to intersperse them over my presented pieces to help visually break up the scenes. I added soundtracks — carefully chosen to help create mood and tension as necessary — and made sure to edit each cut in the video to the beat of the background music.
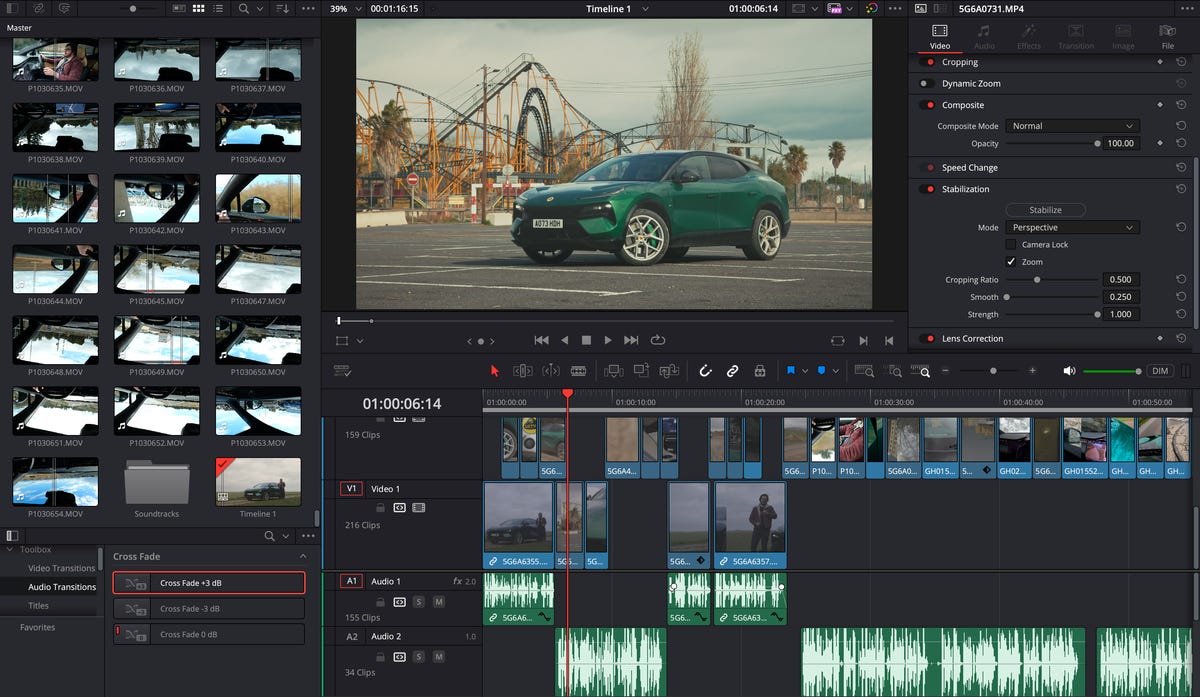
Piecing the video together was much easier once I had written the larger script which created a framework for everything else to slot into.
I then moved on to color editing (called “grading” in professional video) which is where DaVinci Resolve shines. The software is pretty much industry standard across commercial productions and Hollywood films for its flexibility in color editing, and I tried to put some of those same tools to use in my film. I’m very much a beginner when it comes to color grading, but I knew I wanted to create a stronger “look” than simply have it look like it was straight out of camera.
I adjusted the exposure and contrast to help balance bright highlights and lift shadows, I used color wheels to add cooler or warmer tones to the shadows and highlights and adjusted the hues of individual colors in some areas to get the right look I was after.
BlackMagic’s new Micro Color Panel was my tool for all of the color grading, which has physical control wheels and dials for almost all of the main color editing tools. It not only allowed me to work quicker, but I found it was easier to experiment with different styles by just playing with the buttons, rather than having to click through menus using a mouse.
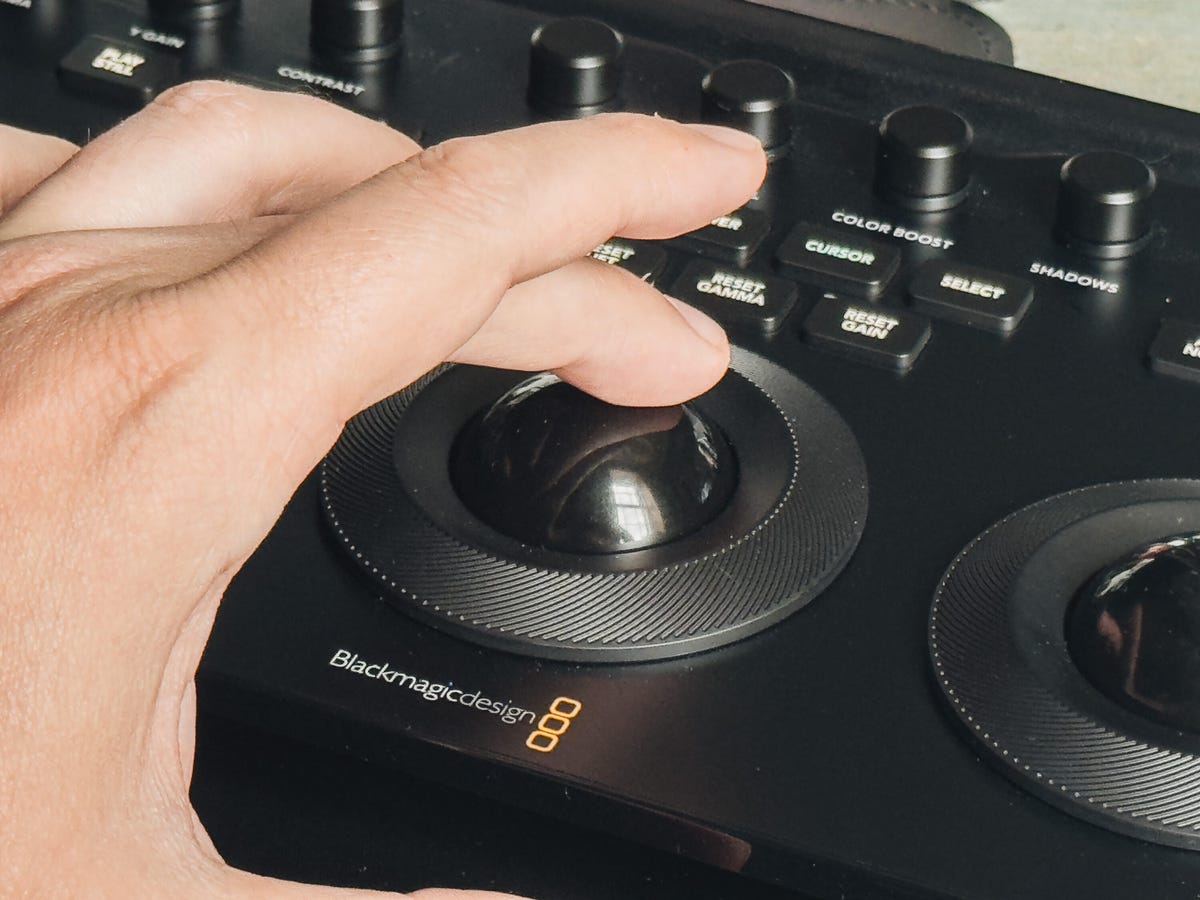
Using BlackMagic’s Micro Color Panel certainly sped up my editing process.
My tips: Even if you want to go quite wild with your colors like I did, they still need to make sense. Trying to turn a rainy, overcast day into a sunset by simply increasing the warmth in the white balance isn’t going to work. Instead, try to work with what you have and think about how your use of color can help add to the tone of the video you’re making.
DaVinci Resolve is free to try — including the excellent iPad version — with only some of its more advanced features requiring the paid Studio upgrade, so it’s a great piece of software to experiment with without having to commit to a paid version.
